Tutorial · Printable menus
How to print a restaurant menu (step-by-step)
This tutorial walks through the whole process with real screenshots: build the menu once, open the print-ready view, save it as a clean PDF, and print it — without redoing the design every time a price changes. It takes about ten minutes.
What you'll need
- Your menu items, descriptions, and prices (a rough list is fine — you can edit later).
- A free NexMenus account, or just follow along with the Ocean & Farm demo menu used in the screenshots below.
- Any computer with a browser. No design software required — the print layout is generated for you.
The idea behind this workflow: your printed menu is generated from the same menu your guests see online. Update an item once, and the QR menu, web menu, and printable PDF all stay in sync. No InDesign files, no hunting for "menu_final_v7.docx".
Build your menu online first
Create a free account, add your categories (Appetizers, Mains, Drinks, Desserts…), then add each item with a name, price, and a short description. Keep descriptions to one sentence — on paper, long descriptions crowd the prices and slow guests down.
New to NexMenus? We have a full walkthrough with screenshots for this part: how to create a restaurant menu online. If you already have a menu, skip straight to step 2 — everything you've entered is already print-ready.
Open the print view of your menu
Open your live menu page and click the printer icon in the top-right corner, next to the Info button. (In the menu editor, the same printer icon lives in the header toolbar.)
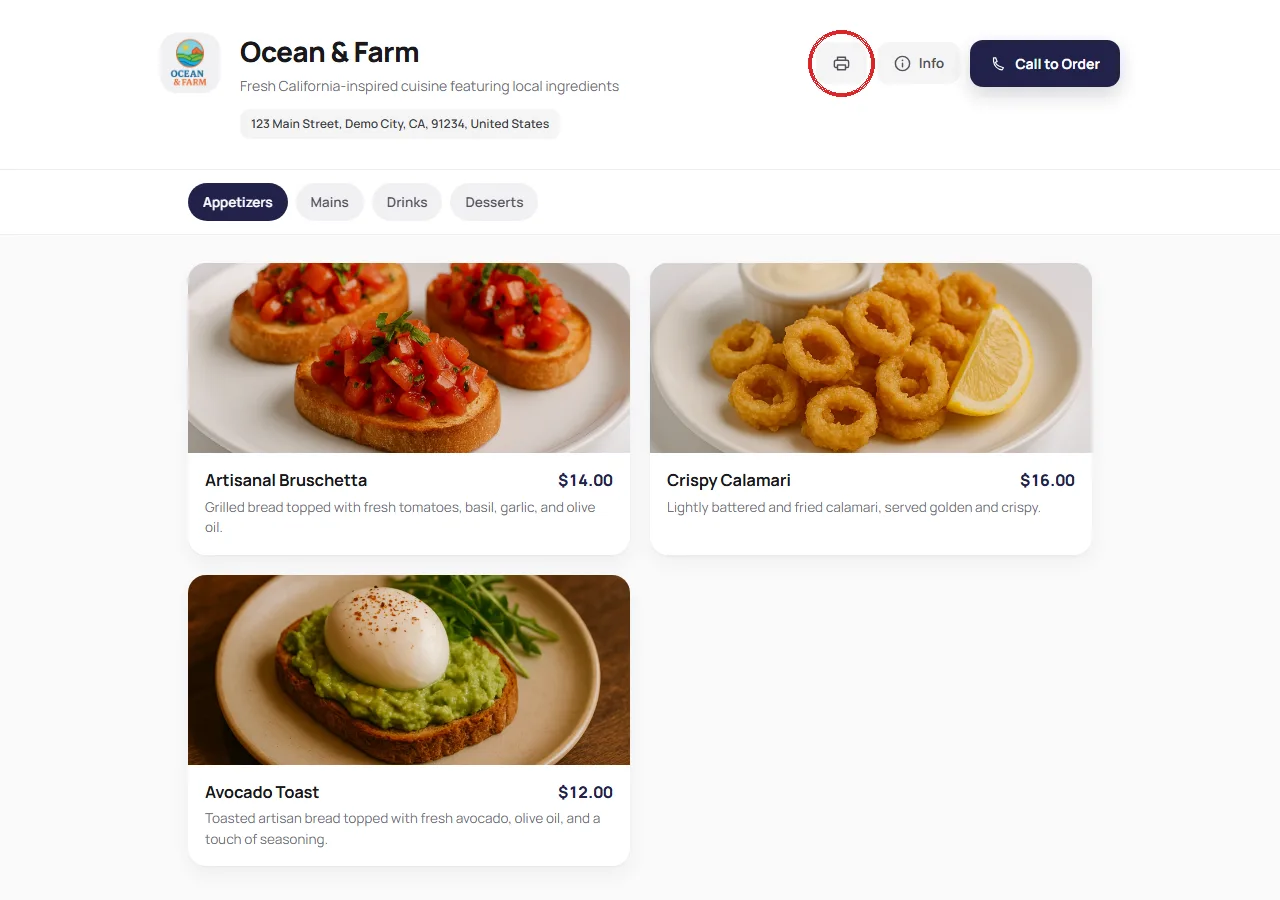
This switches from the guest view — photos, category pills, tap-to-call — to an ink-friendly paper layout: black text on white, aligned prices with dotted leaders, and no buttons or navigation. It is the same menu data, just formatted for paper.
Review the layout, then click "Print / Save as PDF"
Before printing a batch, give the page a quick scan: are the categories in the order you want, do the longest item names fit on one line, and are all prices current? If something is off, fix it in the editor — the print view updates instantly.
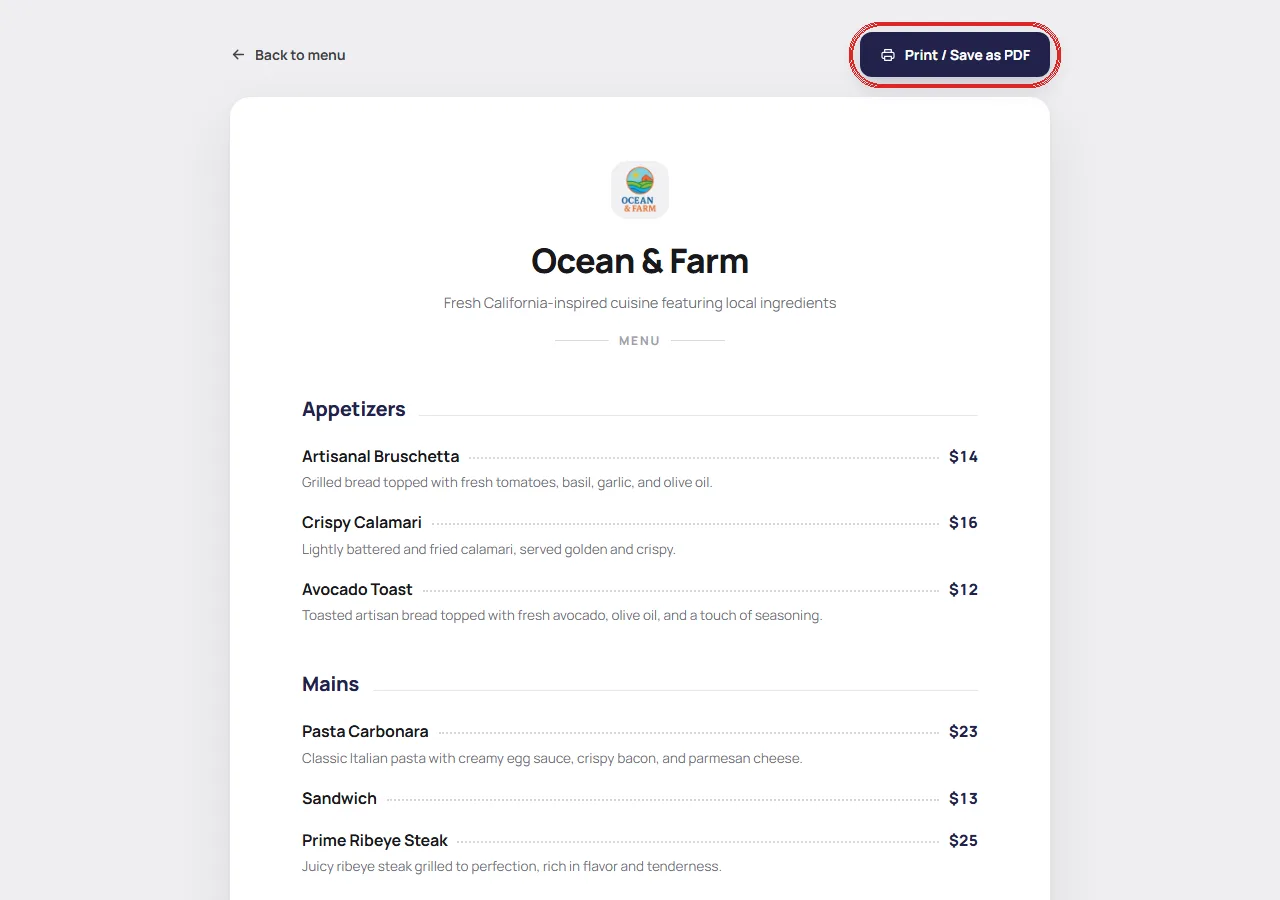
When it looks right, click Print / Save as PDF. Your browser's print dialog opens (you can also press Ctrl+P on Windows or ⌘P on Mac). A few settings worth checking:
- Destination: choose "Save as PDF" for a file, or pick your printer to print directly.
- Paper size: Letter in the US, A4 almost everywhere else.
- Margins: leave on Default — the layout already includes comfortable margins.
- Headers and footers: turn off, so the date and URL don't print on your menu.
Check the PDF and print a small test batch
Here is what the saved PDF looks like — this is an actual export of the demo menu, untouched:
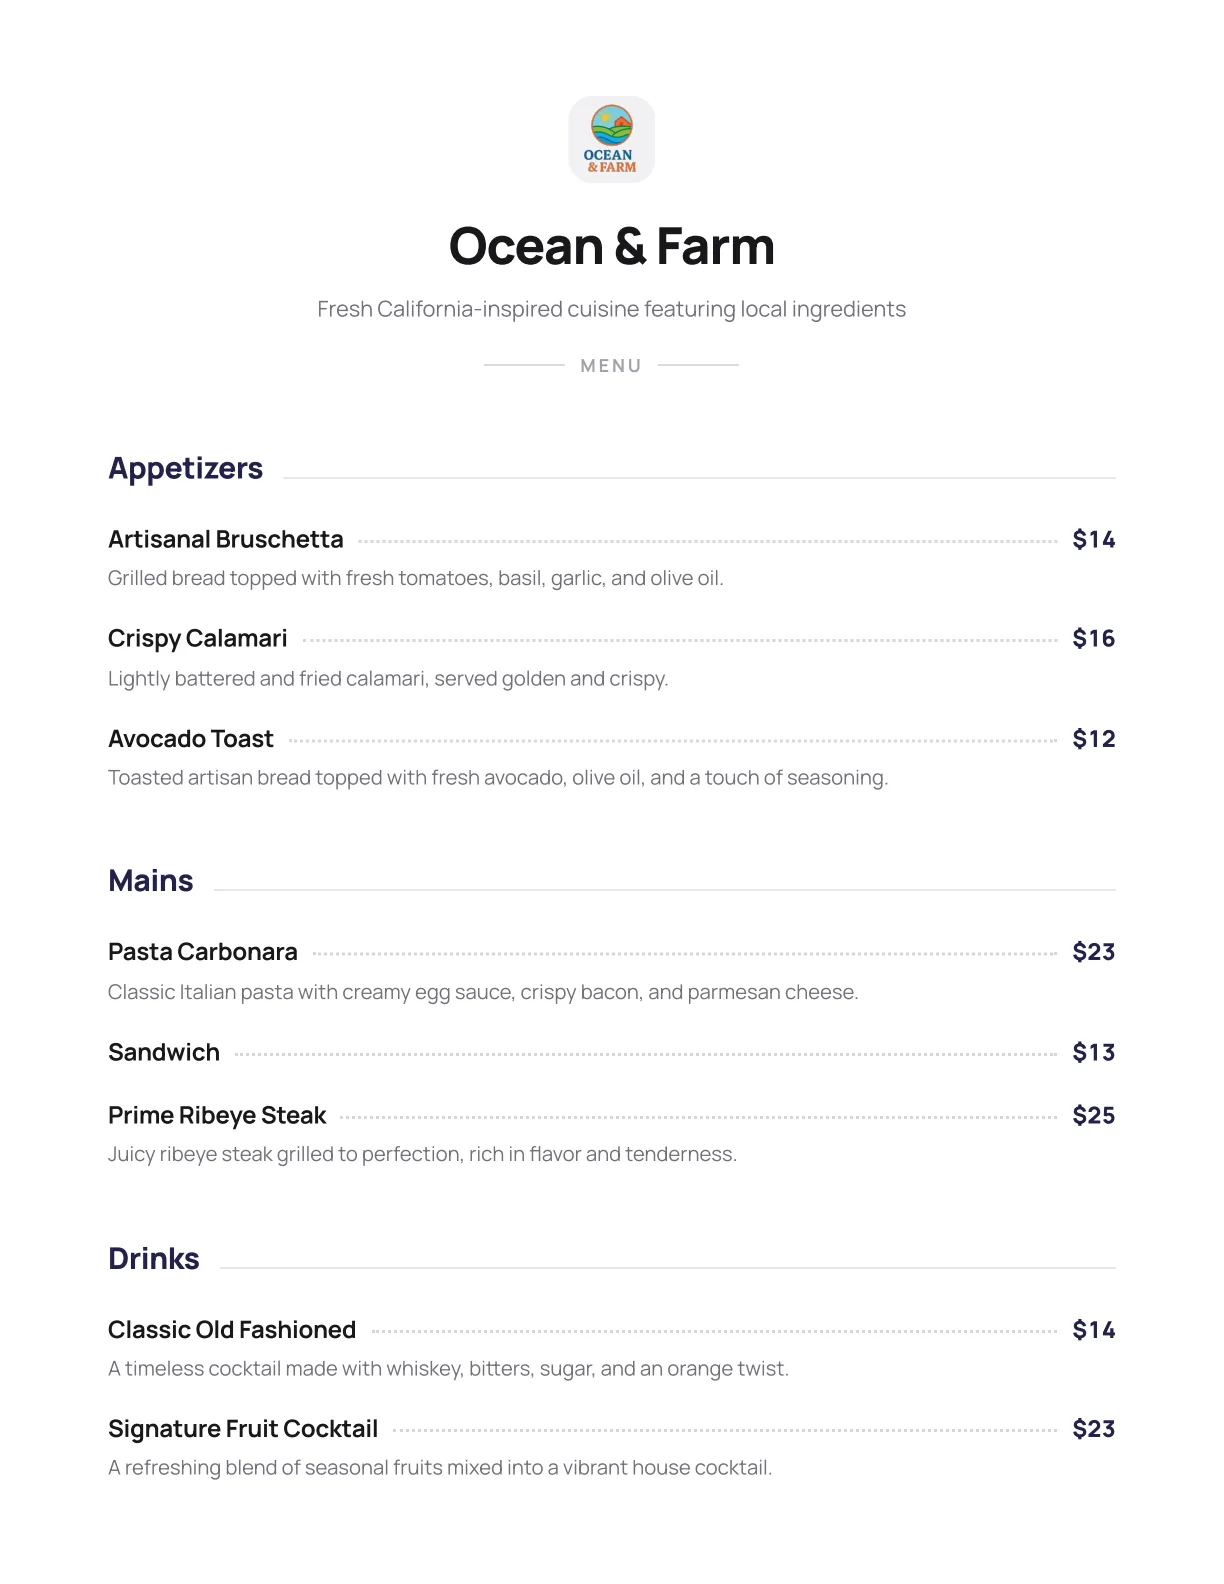
Print one or two copies in-house first and put them in guests' hands (or your staff's). Check readability in the dining room's actual light, at arm's length. Then decide how to produce the batch:
- In-house printer: perfect for daily specials, lunch inserts, and menus that change weekly. Use 32 lb / 120 gsm paper so pages don't feel flimsy.
- Local print shop: hand them the PDF for heavier card stock, trimming, or lamination. Laminated menus survive spills and wipe clean between seatings.
- Menu covers or holders: plain paper in a quality holder looks premium and makes reprints nearly free.
- Takeout menus: pick a size that fits your bags without folding into a crumpled mess — half-letter usually works.
Pre-print checklist
- Every price matches the POS.
- Sold-out or seasonal items removed or marked.
- Allergen notes present where you need them.
- Headers/footers off in the print dialog.
- One test print reviewed on paper — screens hide spacing problems.
When prices change, don't redesign — reprint
Menus change constantly: items sell out, food costs move, seasonal dishes rotate. The most expensive mistake is a beautiful printed menu that lives in a design file only one person can edit. With this workflow, updating the printed menu is: edit the item in NexMenus, open the print view, save the new PDF, reprint. Two minutes, and your QR menu and web menu updated themselves at the same time.
Frequently asked questions
What paper size should a restaurant menu be?
Letter (8.5×11") or A4 for standard dinner menus, half-letter for drinks lists and lunch inserts, and 11×17" folded for large multi-section menus. If you're printing in-house, stick to Letter/A4 — it's what your printer holds.
How do I save my menu as a PDF for free?
Every modern browser can do it: open the print view, press Ctrl+P (or ⌘P), and choose "Save as PDF" as the destination. No paid software needed.
Should my printed menu have photos?
Usually not. Photos print inconsistently, use a lot of ink, and crowd the page. Keep photos on your digital menu — where they look great on a phone — and let the printed menu rely on clear typography. A QR code on the paper menu bridges the two.
How many menus should I print?
A common rule of thumb is about 75% of your seat count for dinner menus (not every seat orders at once), plus 10–15% spares for wear and spills. Print fewer, more often — it keeps menus clean and prices current.
Can I print a menu straight from my phone?
Yes — the print view works on mobile too. Open your menu, tap the printer icon, and use your phone's share/print option to send it to an AirPrint or Wi-Fi printer, or save the PDF and email it to your print shop.
Bottom line
To print a restaurant menu: build the menu online, open the print-ready view, save it as a PDF with headers and footers turned off, test one copy on paper, then print the batch in-house or at a print shop. Keep the printed version generated from the live menu, and updates become a two-minute reprint instead of a redesign.